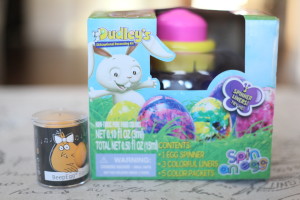
It’s that time: dying Easter eggs is here again! I have two great tools to make it super easy for you: Beep Egg and Dudley’s Spin-an-Egg.
Shh… don’t tell anyone, but I didn’t decorate eggs with my kids last year.
Eek, right?!
I had a baby about a month prior, I worked for someone and also worked a bit for myself, I had a 3 and a 2 year old… Sometimes it’s ok to let go.
It’s not that I didn’t have great intentions, I mean, I DID purchase an egg spinner (which you’ll see in a few seconds). I just didn’t use it. Dudley’s Spin an Egg sat in the top of my closet for an entire year before I pulled it out this year to play with. Beep Egg sent me their fun timer to help with Easter eggs this year, which was the catalyst to jumping on it.
Boiling the Eggs
I seem to have amnesia every time I hard boil eggs. Each time I simply forget how to do it and either ask my mom, mother-in-law or Google. Not this time!
I was really happy to try out Beep Egg, because it took the guess-work out of soft boiling, medium boiling and hard boiling the perfect egg. Come to find out, it is super simple, as well.
Here’s how you do it:
-1-
Put Beep Egg in the refrigerator with your other eggs so they all come out the same temperature.
-2-
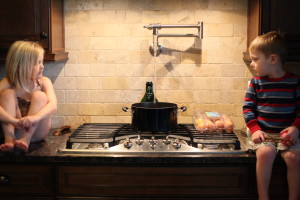
Add cold water to a pot.
-3-
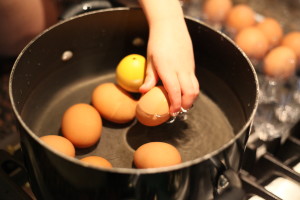
Add all eggs (including Beep Egg) to the pot.
-4-
Put the heat on high and wait! Beep Egg will perform a single beep once to let you know it’s working, then it will share a double beep. The next sound is a song to let you know that the egg is soft boiled
(for the Classic Beep Egg, it’s “Oh Susanna!”).
-5-
Turn down the heat just a bit and wait for a short while until the next song plays. The next song (for the Classic Egg, it’s “Take Me Out To the Ballgame”) indicates that the egg is medium boiled.
-6-
The final song (for the Classic Egg, it’s “Hail, Hail the Gang’s All Here”) indicates that the
egg is hard boiled!
-7-
Once the eggs are finished, you can remove them all (including Beep Egg) and shower them with cold water, setting them aside to dry.
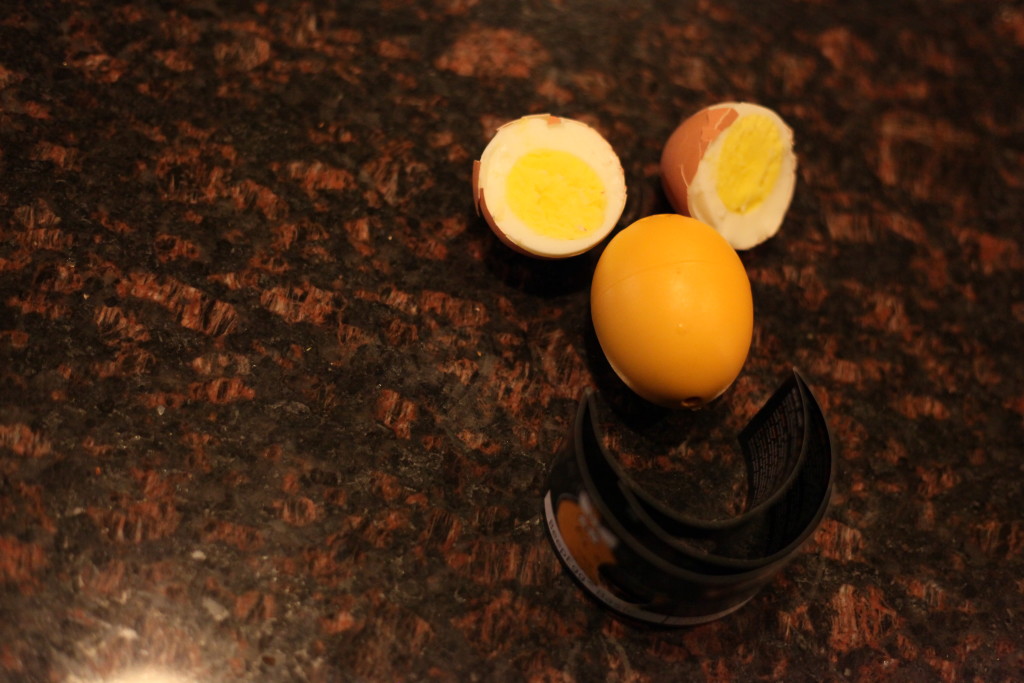
I cut open one of the eggs so you could see how great it looked! Cooked all the way through (it’s a happy face!):
Dying Easter Eggs
I let the eggs rest until the next morning. When we got up, dying Easter eggs was the only thing on our minds! We were excited to try out Dudley’s Spin an Egg.
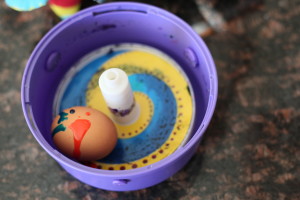
We took the cap off of Dudley’s Spin an Egg, cut the corners off of the five color packets (pink, blue, yellow, green and purple), and dripped some pink and blue over the egg. The instructions tell us to drip 8 to 10 drops.
Dying Easter Eggs with Dudley’s Spin an Egg:
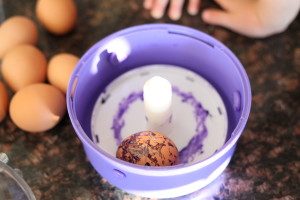
The kids pressed the button to spin the egg. It was a 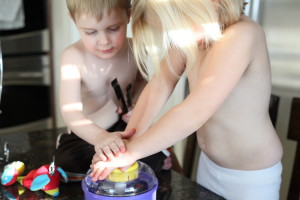 bit different than I expected. I thought that when we pushed down the button, the turn table would spin quite a bit. It spun ok, but ended up spinning backwards a little bit, too. Benson, 3-years-old, wasn’t too productive when spinning, but Cora, 4-years-old, did pretty well pushing hard and fast enough to produce a good spin!
In Dudley’s pictures, the egg becomes solid with color. That’s not exactly what happened for us, but we loved the speckle look on our eggs! We found that we needed a bit more than the 8 to 10 recommended drops of color to cover the egg, and also found it quite fun to drip on more color as we went.
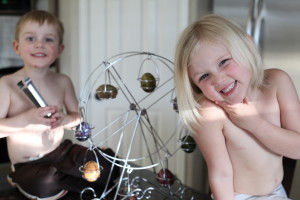
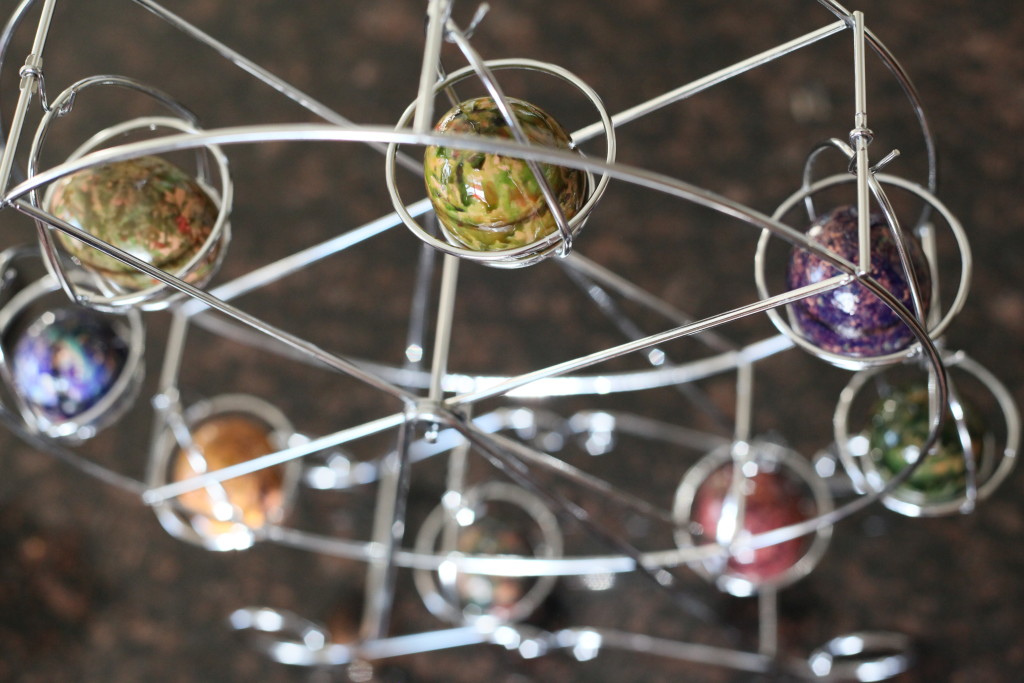
We did it! The kids had a great time dying Easter eggs, and so did I! I put the eggs in our mini cupcake ferris wheel (like this one). I originally found it on Pick Your Plum about 2 years ago. It was a great place to set the eggs to dry, especially since Dudley’s Spin an Egg doesn’t come with a tool to dry the eggs.
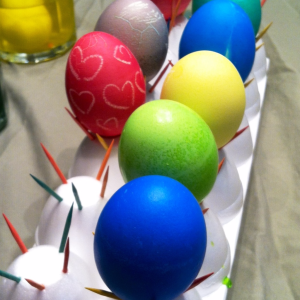
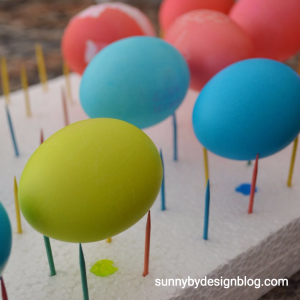
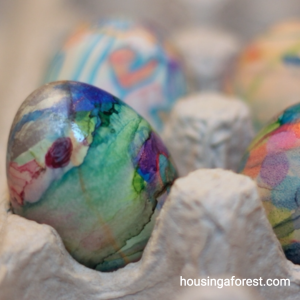
Other contraptions you can use to dry your Easter eggs:
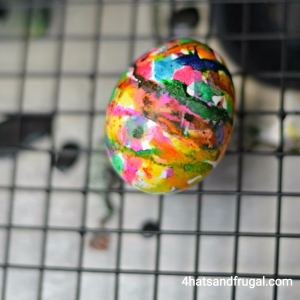
We’re finished! Here are our masterpieces:
Share your thoughts!
Did you decorate eggs this year? How did you choose to do it?


Leave a Reply