Creepy crawly, icky sticky, ewie gooey, nasty slimy, ICK!
^^^ All good signs of a successful Halloween sensory activity! ^^^
Whether you are hosting a kid’s halloween party, in charge of creating a fun party
activity for your child’s school class, or just want to have some fun with your kids at home, you’ll love this idea!
 To see a video of me describing all of the fun that goes into the Halloween sensory station, watch the video below. Note that the video is from Periscope, so it has some Periscope “speak”. Feel free to fast-forward to 1:35 and don’t forget to follow me at periscope.tv/thefitfoodiemom. I have a ton of fun coming your way.
For those of you who like to see things written out, here you go!
Supplies:
-tupperware containers
-enough square pieces of cloth to cover the top of the containers
-one piece of colorful paper per container (I used bright green)
-scissors
-one rubber band for each
All Optional:
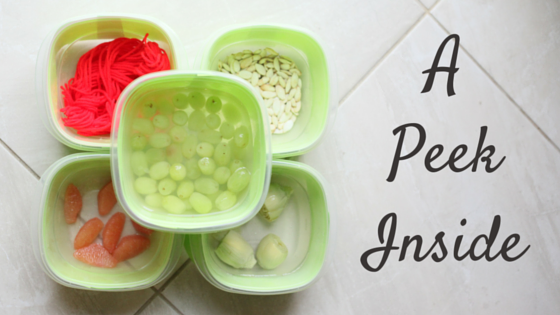
 Monster Eyeballs: grapes, peeled (if you want to be really fancy), place in some water
Ghost Hearts: artichoke hearts, place in some water
Witch’s Teeth: corn kernels
Witch’s Hair: yarn
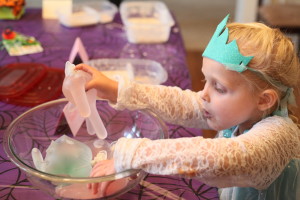
Creepy Hands: latex gloves + glitter glue + water
Goop: cornstarch + water + pumpkin seeds (optional) + pumpkin spice (optional)
Monster Fingernails: pumpkin seeds
Goblin Ears: grapefruit (no peel, sliced into wedges – can buy pre-cut), place in some water
Instructions:
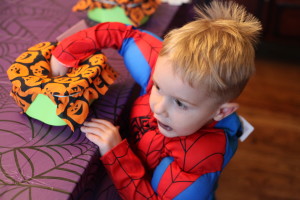
- We don’t want the kids to see what is inside each bin, so we need to cover up the side of our tupperware.
 To do this, cut your paper lengthwise. Make it wide enough to stretch from the top of your tupperware container (just under the lip of the container), reaching almost to the bottom of the container.Be careful not to make the paper too wide, because you still want the base of the container to sit on the table (rather than the edge of the paper making it so the container can’t touch the table). You’ll likely need two of these strips to fit around your entire container. Tape the paper to the container using double-sided tape or regular tape that is looped so the sticky part is on the outside.
 - Decide on which elements you want in your station and put them in each container. I gave you some ideas under the “Optional” supplies above.
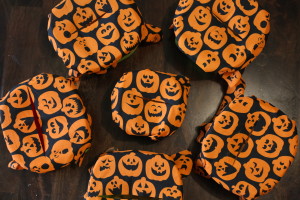
- Cut fabric in a square to fit over your container. Make sure to allow enough fabric overhang to be able to rubber band it down.
- Fold your fabric in half and cut a slit for your guests’ little hands to reach through to the goodies inside. Be sure not to make the slit too long. If you do, the fabric will droop and reveal the goodies inside the container.
- Place your fabric over your containers and place a rubber band just below the top lip of the container to hold it in place.
- Have fun!!

Note:
If you are traveling with the items (even if it’s just across the street), cover the water-filled items with the lid and wait until you are at the final location to remove the lid and put the fabric over the top. <– Trust me on this one!
If you like this idea, please share via the buttons below. If you made your own Halloween sensory station, brag about it below. Maybe you even thought of your own elements! I’d love to hear.

Leave a Reply